Suzuka is one of the most famous and used asian tracks. Decisive for the formula 1 title in more than one occasion, it appears commonly in all iRacing schedules and is a clear buy recommendation.
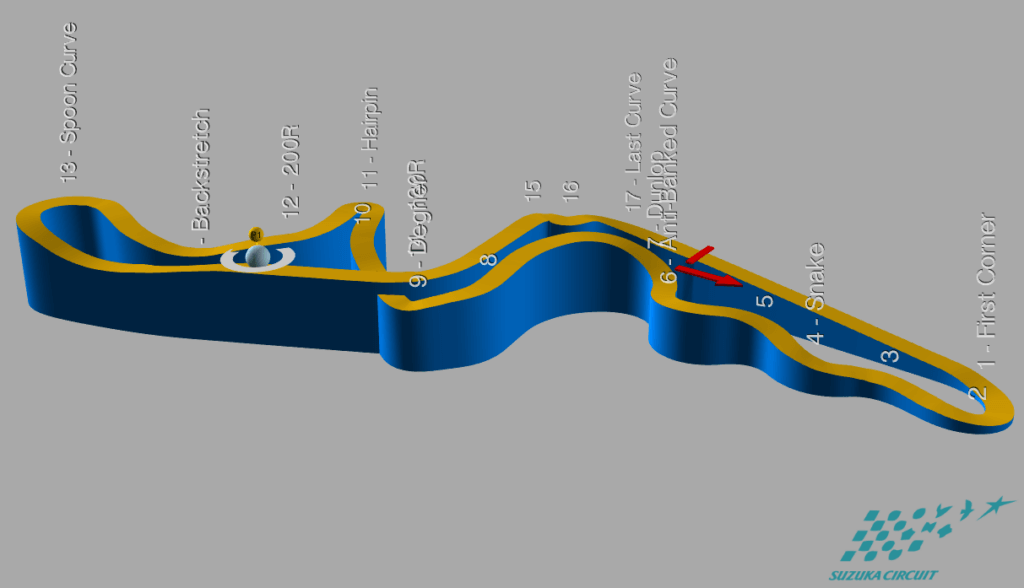
Track length: 5.80 km, 18 corners
Approximate laptime: 1m52s (F3)
iGPFun-F3 Laps: 26 ; 150.8 km TBA+ liters
F3 Officials Laps: 14 ; 81.2 km
Fuel consumption: ~TBA liters per lap
Suggested downforce (F3): Two long straigths at the start/finish and from Spoon corner to the Chicane will ask you to choose relatively low wing angles, but you will want high downforce from turn 1 to 9. Spoon (Turn 13) can also be very difficult on lower downforce late in the race when tyres are suffering and grip is missing.
Demo Lap video at the end of the page
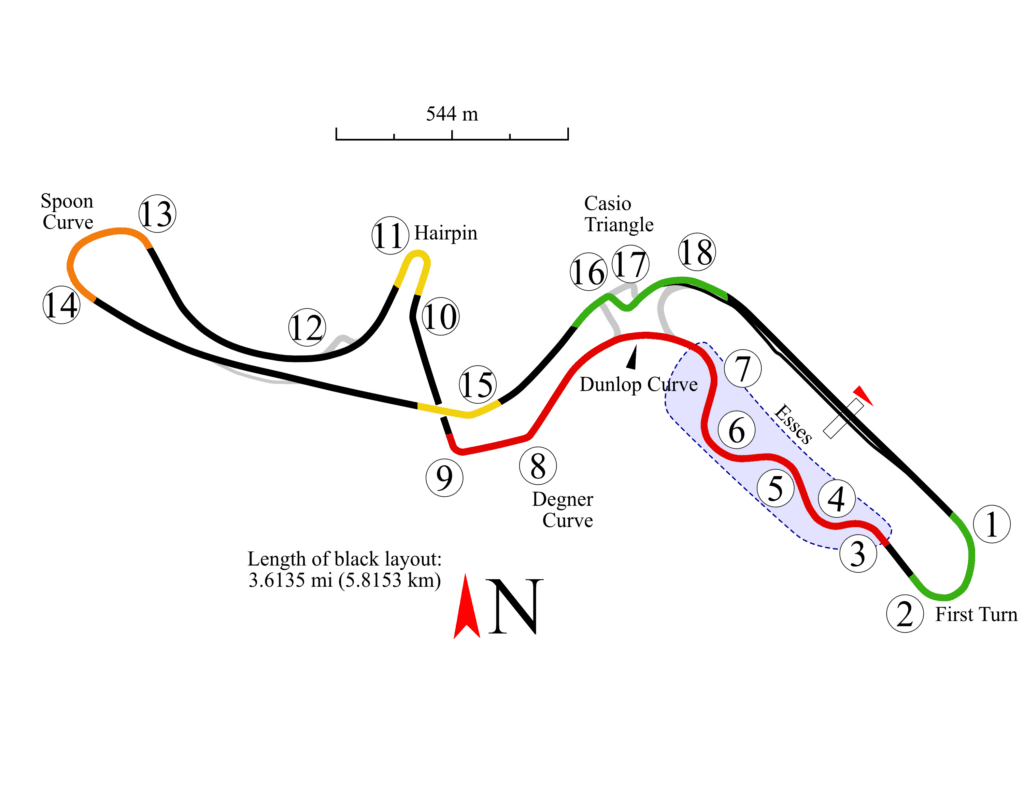
Passing zones are color coded in the image above.
Red: do not attack here, too dangerous or tactical suicide
Orange: attacking is risky and not recommended. Likely to have a crash or lose a lot of speed.
Yellow: you may attack here but there are better places, either due to danger of crashing or for tactical reasons
Green: good passing places
Turn 1-2 Right (First Corner)
Attacking on the start/finish straight is very possible, but side by side into Turn 1 and 2 can be tricky due to the decreasing radius. Play it safe and leave room to your competitors and all will be fine.
Turn 3 to Turn 9 (Esses and Degner)
No passing opportunities in this section. Even lapping can be dangerous and it is best conducted before or after this part of the track. Side by side requires car control, trust and good will. At the very best, you will waste a lot of time by going alongside other cars.
Turn 11 Left (Hairpin)
Hard braking into a slow corner sounds like a good place to attack, but the right-hander kink just before the braking zone (T10R) complicates matters. Be careful and, as usual, no dive bombing. It is very difficult to get an overtaking chance here under normal racing, but many cars get in trouble exiting T9R (just before the bridge) and they can be picked here.
Turn 13 Left (Spoon)
A good exit from the hairpin might allow you to get alongside on the flat out section before Spoon (T13L). However, entry to this corner is difficult and the line through it rather narrow. Side by side is dangerous and attempting to pass here is not recommended. Exit speed would be severely compromised by side by side racing, costing a lot of time in the following straight.
It is much better to concentrate on getting a good exit to attack on the much easier straight towards 130R and the final chicane.
Turn 15 Left (130R) and the final chicane (Casio Triangle)
You can draft and easily get alongside your opponent on the long straight to 130R, then you have two choices. Safer: sit behind and attack under braking for the chicane. More daring: side by side in 130R. The latter will require cooperation from both cars and you must leave enough room to your opponent, keeping in mind that cars will drift wide. Entering fast on the inside often forces you to go wide on exit, resulting in car contact. There is a generous run-off on the outside of 130R but remember that driving off track to complete a pass or defend is against the rules.
Passing is safe if you can complete it on the straight before approaching the corner, of course.
The chicane, instead, is a typical hard braking zone. As always, be sure to avoid dive bombing; attack only if you have a clear run and can safely do so. You can either attack on entry or get a good exit and pass under acceleration and draft on the long start-finish straight.
Be aware that people might brake earlier than you think for the tight chicane. If you do not plan to attack on a given lap, the best thing is leaving a small safety gap to the car in front. Chances are that it will also allow you to get a better exit and prepare a pass on the straight.
F3 Demo Lap – 2020 Season 4
F3 Demo Lap – 2020 Season 3